How to Create a Dev Environment in Windows 10: Part 1
July 9, 2020
Hi, guys? Long time, huh? Hope you are all doing great! and you are all safe and sound. Today i would like to help you create a development/hacking environment in Windows 10. So let’s get started with Part 1: First Installation.
First you’ll need to make sure you have a Windows 10, updated to 10th May 202 version(Windows 10, Version 2004, Build 19041 or higher).
Now i would like you to install the Windows Subsystem for Linux v1 and 2.
Here’s the installation:
WSL1
Before installing any Linux distributions on Windows, you must enable the “Windows Subsystem for Linux” optional feature.
Open PowerShell as Administrator and run:
dism.exe /online /enable-feature /featurename:Microsoft-Windows-Subsystem-Linux /all /norestart
To only install WSL 1, you should now restart your machine and move on to Install your Linux distribution of choice , otherwise wait to restart and move on to update to WSL 2. Read more about Comparing WSL 2 and WSL 1 .
WSL2
To update to WSL 2, you must meet the following criteria:
- Running Windows 10, updated to version 2004 , Build 19041 or higher.
- Check your Windows version by selecting the Windows logo key + R, type winver, select OK. (Or enter the
vercommand in Windows Command Prompt). Please update to the latest Windows version if your build is lower than 19041. Get Windows Update Assistant .
Enable the ‘Virtual Machine Platform’ optional component
Before installing WSL 2, you must enable the “Virtual Machine Platform” optional feature.
Open PowerShell as Administrator and run: PowerShell
dism.exe /online /enable-feature /featurename:VirtualMachinePlatform /all /norestart
Restart your machine to complete the WSL install and update to WSL 2.
Set WSL 2 as your default version
Run the following command in PowerShell to set WSL 2 as the default version when installing a new Linux distribution: PowerShell
wsl --set-default-version 2
You might see this message after running that command: WSL 2 requires an update to its kernel component. For information please visithttps://aka.ms/wsl2kernel
. Please follow the link (
https://aka.ms/wsl2kernel
) and install the MSI from that page on our documentation to install a Linux kernel on your machine for WSL 2 to use. Once you have the kernel installed, please run the command again and it should complete successfully without showing the message.
Note
The update from WSL 1 to WSL 2 may take several minutes to complete depending on the size of your targeted distribution. If you are running an older (legacy) installation of WSL 1 from Windows 10 Anniversary Update or Creators Update, you may encounter an update error. Follow these instructions to uninstall and remove any legacy distributions .
If wsl --set-default-version results as an invalid command, enter wsl --help. If the --set-default-version is not listed, it means that your OS doesn’t support it and you need to update to version 2004, Build 19041 or higher.
Install your Linux distribution of choice
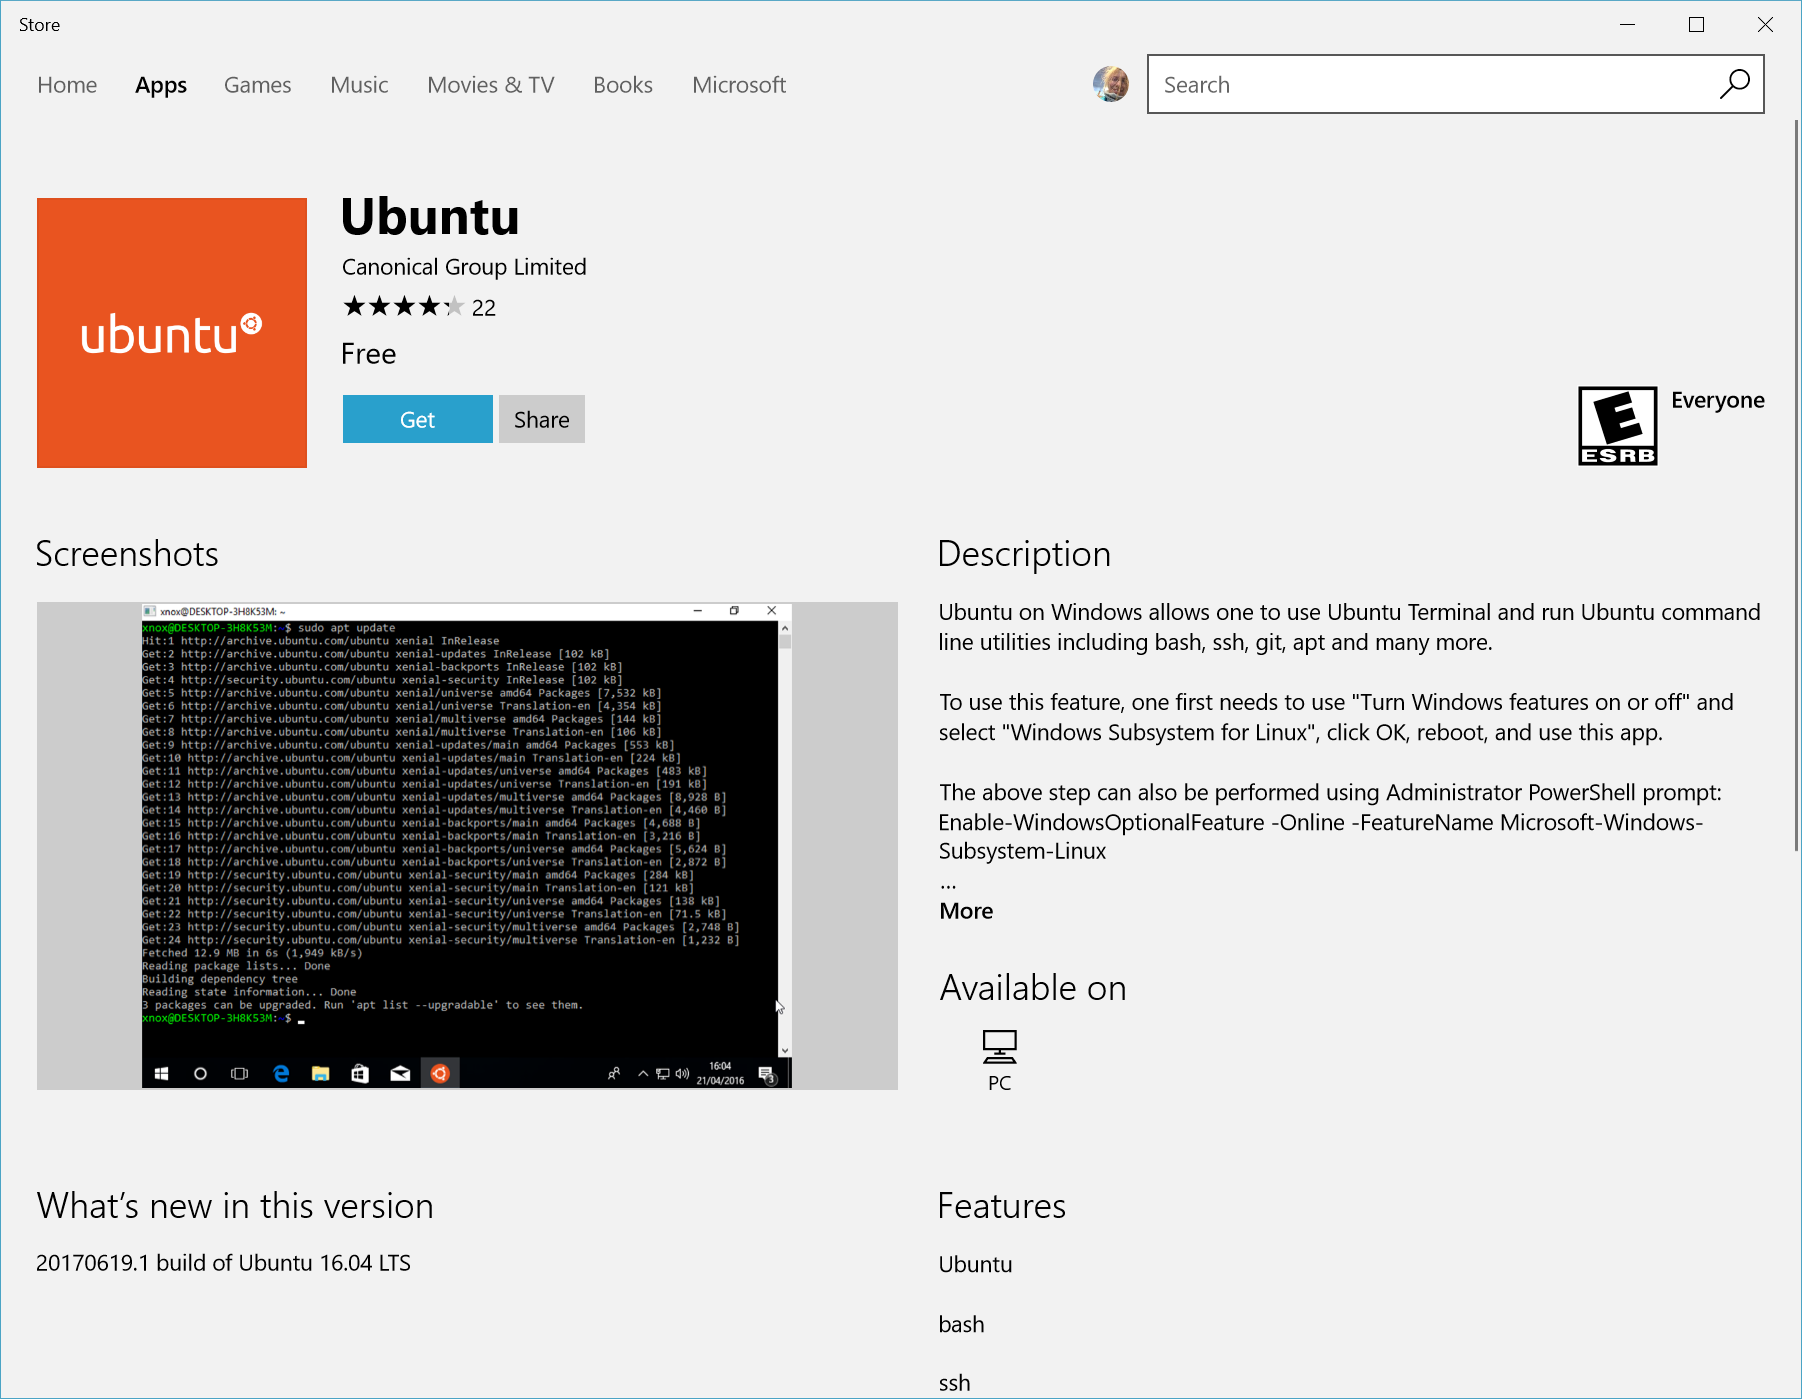
- Open the Microsoft Store
and select your favorite Linux distribution.
 The following links will open the Microsoft store page for each distribution:
For a development environment i recommend Ubuntu and for Hacking i recommend Kali Linux . But feel free to choose any you like. Linux is linux and we will be working mostly on the terminal.
- From the distribution’s page, select “Get”.
Set up a new distribution
The first time you launch a newly installed Linux distribution, a console window will open and you’ll be asked to wait for a minute or two for files to de-compress and be stored on your PC. All future launches should take less than a second.
You will then need to create a user account and password for your new Linux distribution .

Set your distribution version to WSL 1 or WSL 2
You can check the WSL version assigned to each of the Linux distributions you have installed by opening the PowerShell command line and entering the command (only available in Windows Build 19041 or higher
): wsl -l -v PowerShell
wsl --list --verbose
To set a distribution to be backed by either version of WSL please run: PowerShell
wsl --set-version <distribution name> <versionNumber>
Make sure to replace
Additionally, if you want to make WSL 2 your default architecture you can do so with this command: PowerShell
wsl --set-default-version 2
This will set the version of any new distribution installed to WSL 2.
Now we need a good terminal emulator application to manage the OS you’ve installed. I recommend Hyper and Windows Terminal . I use Hyper.
If you are a beginner go over here to learn about basic terminal commands: Terminal Commands .
That’s the end of part 1. Part 2: Coming Soon
See Also
- How to Create a Simple Personal URL Shortener
- Resources for Building a Beautiful Progressive JAMstack Blog
- Building a Beautiful Progressive JAMstack Blog Part 2: Day 4 to 7
- Building a Beautiful Progressive JAMstack Blog Part 1: Day 1 to 3
- The 8 Phases of Cyber Security Testing